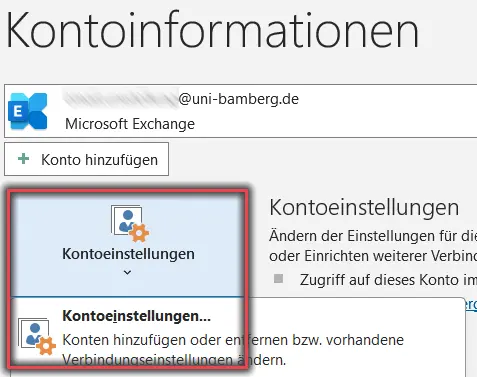
In Outlook, click File in the upper-left corner, then click Account Settings on the Info tab. In the menu that appears, click Account Settings again.
Figure 2: Add Data File
In the new window (Account Settings), click the Data Files tab. Then click the Add… tab.
Notes:
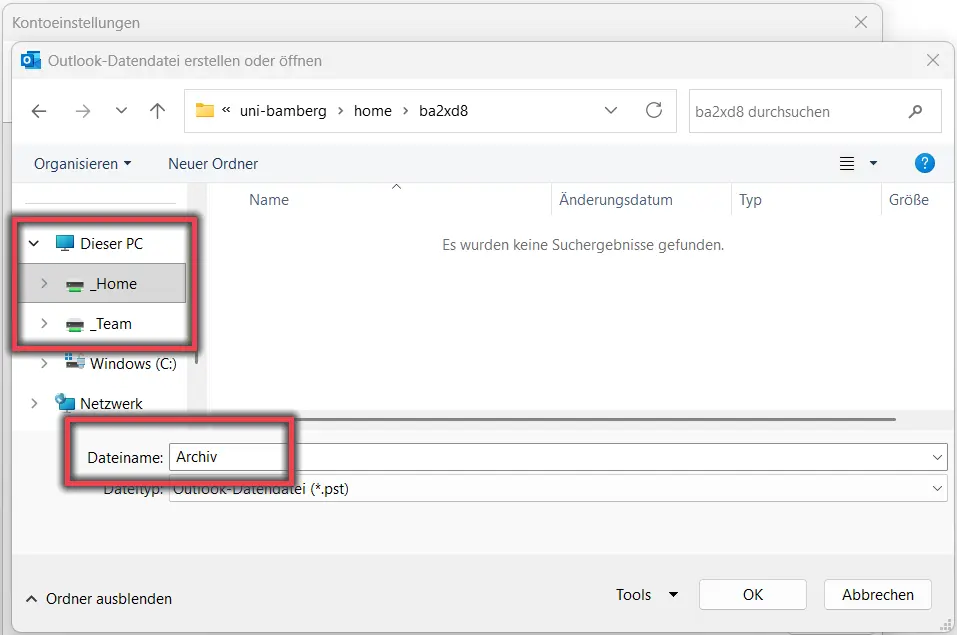
If you want to create a personal archive, you should save it to the Home drive.
If this is an archive for a task-based mailbox, it should be created in a task-based network drive under “Team” that other colleagues can also access.
Figure 3: Creating a Data File
Select the folder where you want to create the archive, give it an appropriate name, and then click OK.
Examples: Archives, Archives Office
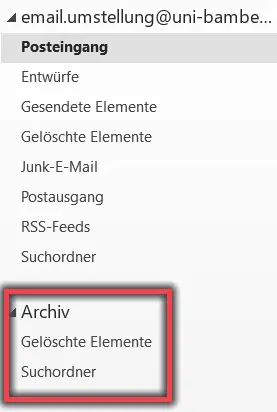
Figure 4: New Archive Created
You can close the Account Settings. You'll find the new archive under your Mailboxes.
Archiving Emails
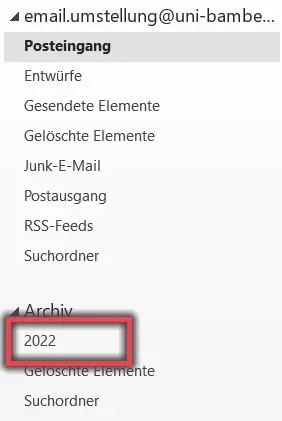
Figure 5: Example of a folder in the archive
In the archive you've created, just as in your inbox, you can create subfolders and give them appropriate names so that it's clear which emails are in each folder.
Example: 2022–2023, Project XYZ
Archive Emails Individually
You can drag and drop the email you want to archive into the Archive folder. You can also select multiple emails and move them all at once using drag and drop.
Archive emails in batches or by folder
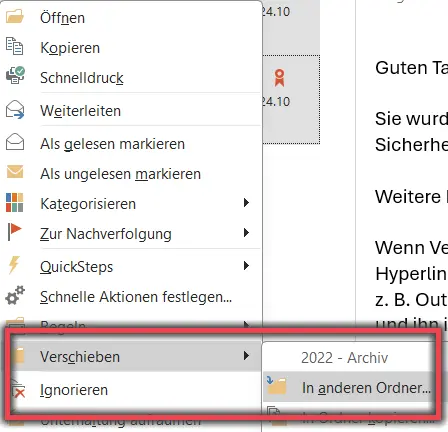
Abbildung 6: Menü Dateien verschieben
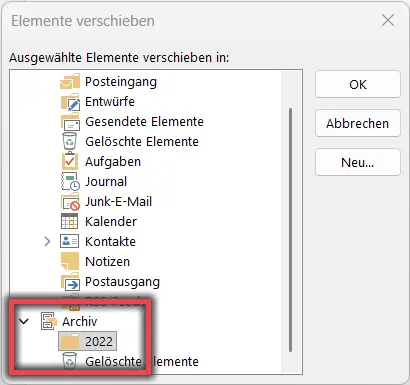
Figure 7: Destination folder for moving files
If you want to archive all the emails from a given year or an entire folder, follow these steps:
Select all emails from a given year, or left-click to select the folder. Right-click on the emails or the folder. In the menu that appears, click Move, and in the next submenu, click
In the new window, select the archive folder and then click OK.
Note!
Depending on the size and number of emails, this process may take longer.
![[Translate to English:] Ansicht Datendatei hinzufügen](/fileadmin/_processed_/f/1/csm_Archiv-Datendatei_6ad6b6231b.webp "Add Data File")