To use Zoom, you must have a University of Bamberg user account.
Participation in a Zoom meeting may be restricted to members of the University of Bamberg. If this is the case, participants must first log in to Zoom using the details of their respective user account.
Download and install the Zoom desktop app
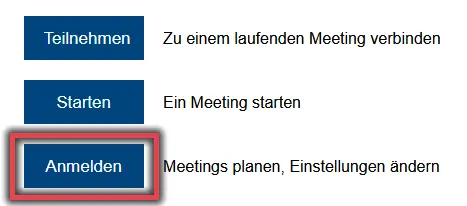
Figure 1: Logging in to Zoom in a web browser
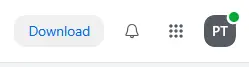
Figure 2: Go to the Download Centre
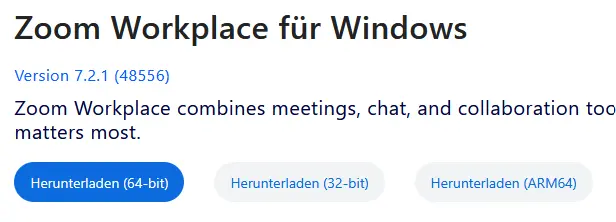
Figure 3: Download the Zoom desktop app
Go to https://uni-bamberg.zoom.us and log in by clicking the ‘Log in’ button and then entering your BA number and the corresponding password.
Figure 1 shows the options available on the Zoom homepage, with the ‘Sign in’ button highlighted.
Click on Download in the top right-hand corner. A new browser window will open, where you can download the Zoom Workspace desktop application.
Figure 2 shows the route to the download centre described above.
Figure 3 shows how to download the Zoom desktop app.
Once the Zoom desktop app has been successfully downloaded, start the installation and follow the installation wizard.
Sign up to Zoom
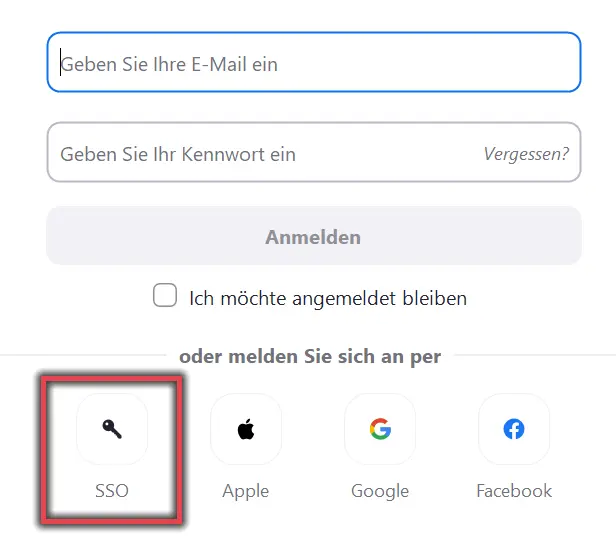
Figure 4: Logging in via SSO
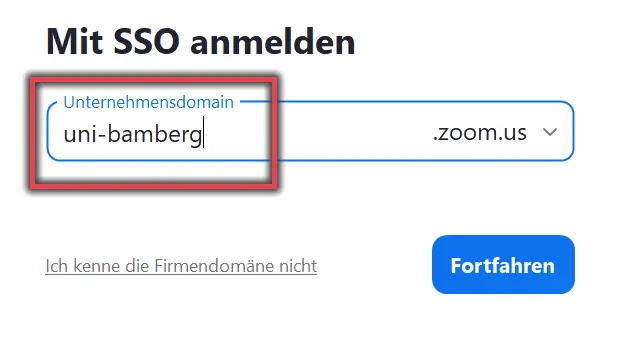
Figure 5: Entering the organisation domain ‘uni-bamberg’
Once the installation is complete, the Zoom desktop app will launch automatically. Click Log in here, then click SSO at the bottom of the screen.
Figure 4 shows the various ways of logging in using a token with SSO.
A new window will appear; ‘uni-bamberg’ should already be entered here. If this is not the case, enter ‘uni-bamberg’ in the ‘Company domain’ field and click ‘Continue’.
Figure 5 illustrates the step described above.
A tab will now open in your default browser; log in via SSO here. At the same time, the Zoom application (Zoom desktop app) should open in a window from which you can launch the Zoom application (Zoom desktop app). Click the ‘Open link’ button. You can then close the tab in your browser.
Once you have installed the Zoom desktop app and logged in, you can use it to schedule, start and join meetings.
Scheduling, starting and changing Zoom meetings
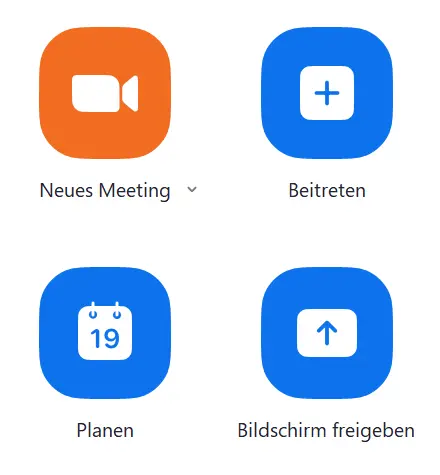
Figure 6: Zoom Home menu
Once you have successfully logged in, you now have the following options via the Home tab:
New meeting (start a meeting straight away)
Join (join a scheduled meeting)
Schedule (Schedule a new meeting)
Bildschirm freigeben (Bei einem laufenden Meeting direkt den Bildschirm teilen)
Figure 6 illustrates the options described above.
Schedule a meeting
In the Zoom desktop app, click the Plan menu option.
On the next page, enter the name of the meeting, set the duration and select any further options. Save the new meeting.
Notes:
For a meeting that you wish to hold on multiple occasions, you can select ‘Recurring meeting’.
There are more options available via the browser that can be specified when scheduling the meeting.
Meetings scheduled in the browser will also appear in the desktop app, where you can start them.
Publish meeting details
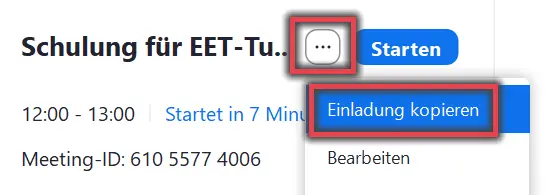
Figure 7: Copying a Zoom Meeting invitation
Once you have saved the meeting, Outlook (if you have it) will open with a draft email. All the necessary information about the meeting is already included in this email.
Link to join the meeting
Meeting ID
Access code
Dial-in numbers for smartphones/landlines
You can use this to email the participants you wish to contact directly. You can also copy this information and make it available, for example, in a VC course.
You can also copy the meeting invitation after creating it by tapping the three dots next to the ‘Start’ button.
Figure 7 illustrates the process described above.
Note:
If Outlook is not your default email client, Zoom will ask you which email client you would like to use to send the email. If that client does not have a calendar, the email cannot be sent directly.
Start meeting
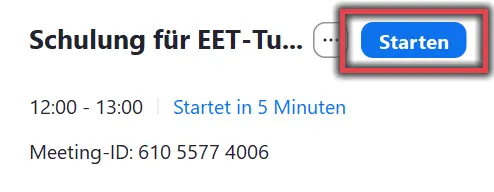
Figure 8: Start a Zoom meeting
In the Zoom desktop app, under the Home tab, you can view the meetings scheduled for today and start them directly from here using the Start button.
Figure 8 shows a scheduled meeting with a marker indicating when the meeting is due to start.
Alternatively, you can view your scheduled meetings via the ‘Meetings’ tab and start the meeting of your choice.
Alternatively, you can start an impromptu meeting via the ‘New Meeting’ menu option in the Home tab. Once the meeting has started, you can invite the participants you wish to include and send them the meeting ID and access code.
Change meeting details
Figure 9: Edit Zoom Meeting
In the Zoom desktop app, click on the ‘Meetings’ tab. All your scheduled meetings will be displayed here.
Click on the meeting you want in the left-hand column, then click on ‘Edit’ on the right-hand side.
Figure 9 shows the interface described earlier, with a marker next to the ‘Edit’ button.
Join Zoom meetings
Figure 10: Prompt to log in to the Zoom desktop app
To join a meeting, launch the Zoom desktop app and click on the Join menu option.
In the new window, enter the Meeting ID you have been given. Here, you can also choose whether the audio and video should be switched off when you join. These can be reactivated once you are in the meeting. Now click on Join.
Another window will open. Here, you must enter the access code for the meeting and then click on Join the meeting.
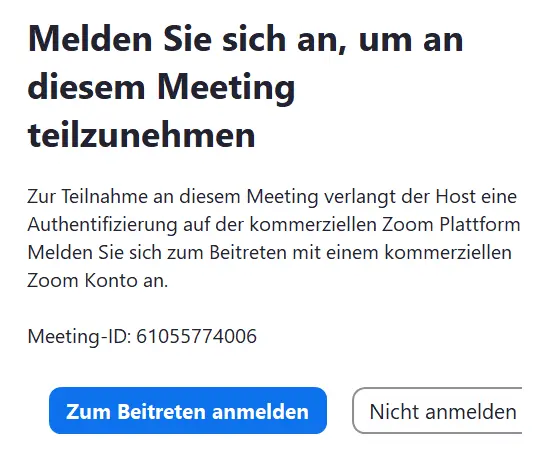
Participation in a meeting may be restricted to people who are logged in to Zoom or who are members of the University of Bamberg. If this is the case, you will be prompted by an error message, as shown in Figure 10, to log in. Click on Log in to join and follow the steps described in the instructions under Log in to Zoom.