Connecting to a file server (network drive) under Ubuntu
Connecting to a file server (network drive) under Ubuntu
Notes:
To access a file server, you need a valid user account (BA number + password).
In addition, your computer must be connected to the University of Bamberg network via VPN or WLAN. Information on the VPN at the University of Bamberg can be found at www.uni-bamberg.de/its/vpn.
These instructions refer to Ubuntu 24.04 For other distributions, the procedure is the same, only the appearance differs from these instructions.
Establishing a connection with the file server
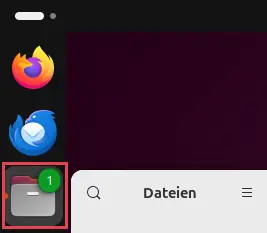
Figure 1: Select file storage
Click on Files in the launcher icons (default on the left edge of the desktop).
Figure 1 shows the file storage icon.
In the following window, click on Other locations and enter the path to the desired network drive under Connect to server:
Network drive for students: smb://uni-bamberg.de/stud/baXXXXXX
Network drive for university employees: smb://uni-bamberg.de/home/baXXXXXX
Figure 2 shows an example with the path for the team drive.
Figure 2: Enter network path
Note:
If you integrate the task-related network drive smb://uni-bamberg.de/team, all your task-related network drives are automatically integrated.
Authentication on the network drive
Log in to the file server
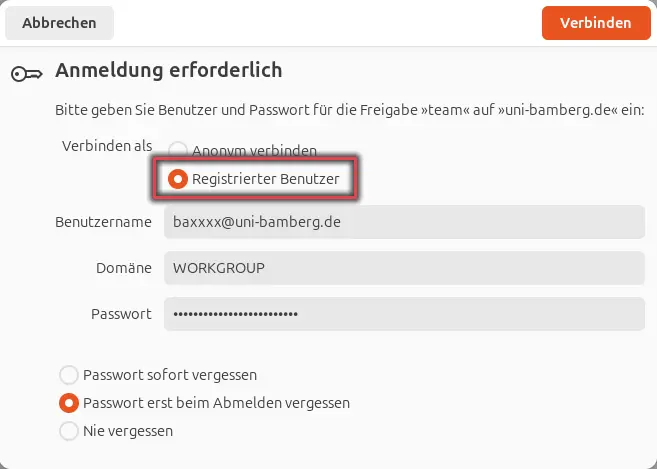
Figure 3: Entering login data
In the next step, you will be asked for the data for your user account in order to be able to log in to the network drive.
Complete this window as follows:
Connect as: Select the Registered user option
User name: BA-Nummer@uni-bamberg.de
Domain: WORKGROUP
Password: Password of your BA number
Select how Ubuntu should handle the password. Finally, click on Connect.
Figure 2 shows the login window described above.
Folder contents
You are now on your personal or task-related file server at the University of Bamberg, for example.
To avoid having to set up the connection again the next time you start the system, you now have the option of setting a bookmark. The bookmark will take you directly to the authentication window, where you will be asked for your user account details.
Set network drive bookmark
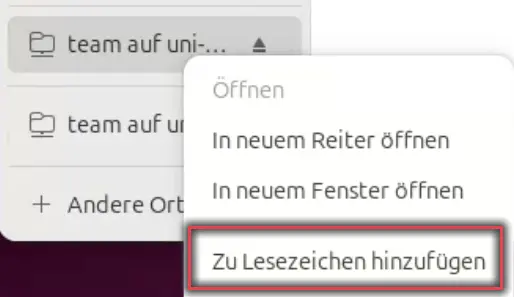
Figure 4: Set bookmark
To do this, right-click on the network drive and select Add bookmark in the context menu. A bookmark will now appear underneath, which you can rename as you wish.
Figure 4 shows the process described above.
Eject network drive and terminate connection
To end the connection with the Uni network drive correctly, eject the drive. To do this, click on the eject symbol. You can then - if no longer required - terminate the VPN connection to the university network.